


Turkish flatbread is something I make often at home. It is very easy to make, and full of simple love. Each step is quick and takes only a few minutes. There is no kneading, and you do not need an oven.
As a home baker, I enjoy this recipe a lot. My husband, who is an expert, makes it even better. The simplicity can truly change how you see bread. It is a great way to begin your journey in making.
The dough can be thawed from the freezer anytime. Just add a little heat, and it refreshes nicely. It feels like it was made freshly the same day. This is a major upgrade over store-bought bread.
In Turkey, bread is called ekmek. Bazlama is a soft type, like Greek pita. It is traditionally cooked on a sac or saj. This is a convex pan, similar to a wok.
At home, I use a cast-iron griddle or skillet. Both give a soft and fluffy texture every time. I have tried many recipes, but this one stands out. If you follow the notes and tips, you will love it.
Let’s Talk About the Topic:
Ingredient Notes
In my kitchen, I always start with a simple combination of milk and water. You can go vegan and use only water if needed. The milk enhances the flavor and keeps the bread moist. It also makes it softer, more pliable, and helps it brown better.
For yeast, I usually prefer fresh or compressed types. But active dry yeast is also easy to use at home. These come as small granules and need proper activation. They are convenient and work well as a backup option.
I always suggest testing before mixing. Just dissolve a teaspoon in lukewarm water, not hot. Add a pinch of sugar and watch for bubbles in minutes. If nothing happens, replace it with a new batch.
With baker’s yeast, the process feels more forgiving. It works quicker, stays active longer, and supports multiple rises. You can crumble it directly or mix in tepid liquid to activate. The dough becomes more flexible, which I find easier to handle.
When buying, check the grocery refrigerated section. It often comes in small blocks wrapped in foil. Store it in the freezer, cut a portion, and return the rest. It lasts well if stored properly, based on my experience.
Tips on Making Bazlama Turkish Flatbread
When I started making flatbread, my rounds were never perfectly round like Francesco’s. Still, the taste was always great, and that matters most. Even if you make a small mess, it stays enjoyable to eat. For anyone new to bread, these tips make things much easier.
The key is understanding the dough and its rising behavior. The temperature of the room really affects how fast it will rise. A little warmth speeds things up, while cold slows it down. In winter or summer, even air from a conditioner or open windows plays a role.
On a scorching hot day, I adjust my timing with care. Good handling helps you avoid dough sticking to your hands. I always suggest wetting your fingers before touching it. Also, keep enough elbow space in your workspace to work freely.
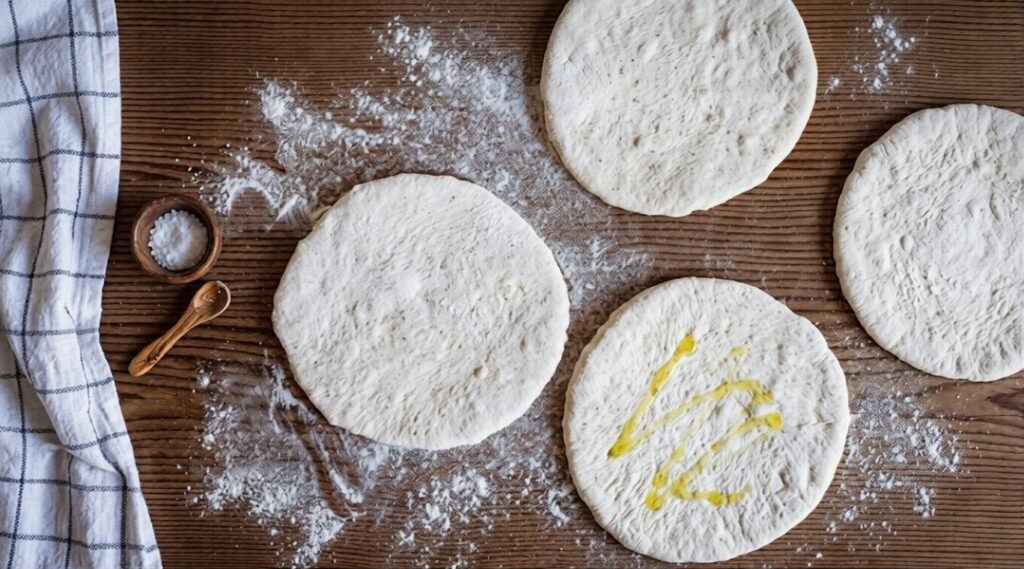
When shaping, gently roll the flattened Turkish dough. A little oil on a floured table helps smooth movement. For better fluffiness, keep the dough slightly thicker. This gives a softer texture that feels just right.
Recommended Tools
When I first started making bread, I tried to keep things simple. But using a digital scale made everything faster and easier. It also helps keep things clean, which I really value. Small tools can truly change your workflow.
For shaping, a rolling pin that feels comfortable works best. You can also flatten the dough into rounds by hand. I often switch between both depending on the time. The goal is smooth, even-rolled pieces.
A flexible scraper is one tool I never skip. It helps with scraping dough from the bowl and dividing it into pieces. It is also useful for picking up each ball and prying the shaped dough that may stick. Even cleaning leftover bits becomes simple.
For cooking, I use a cast-iron skillet or griddle. Traditional options like sac, saj, tava, or tawa also work well. A good spatula, even a fish one, helps with flipping and checking browning. I also keep an oil drizzler, olive spout, or decanter nearby.
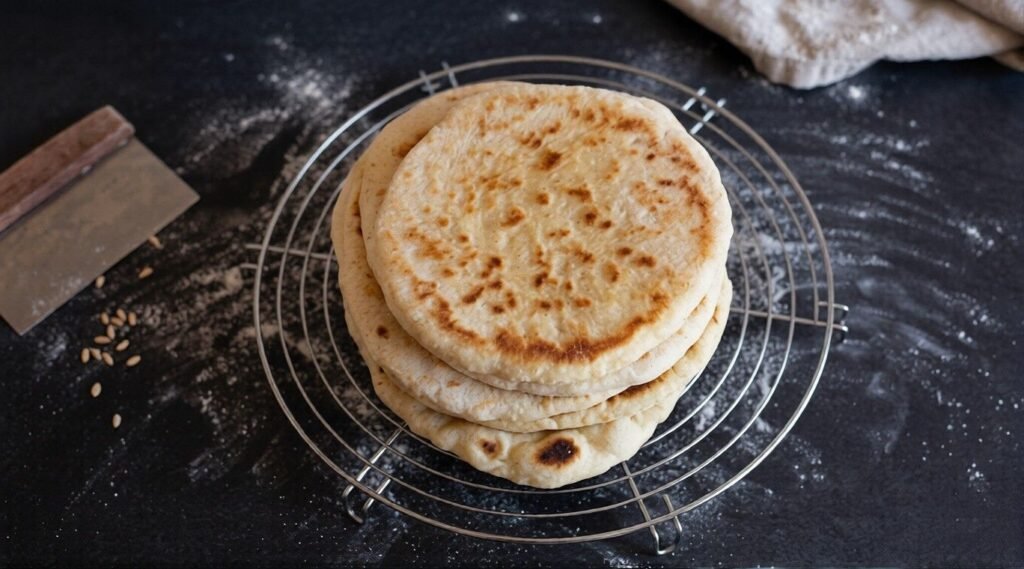
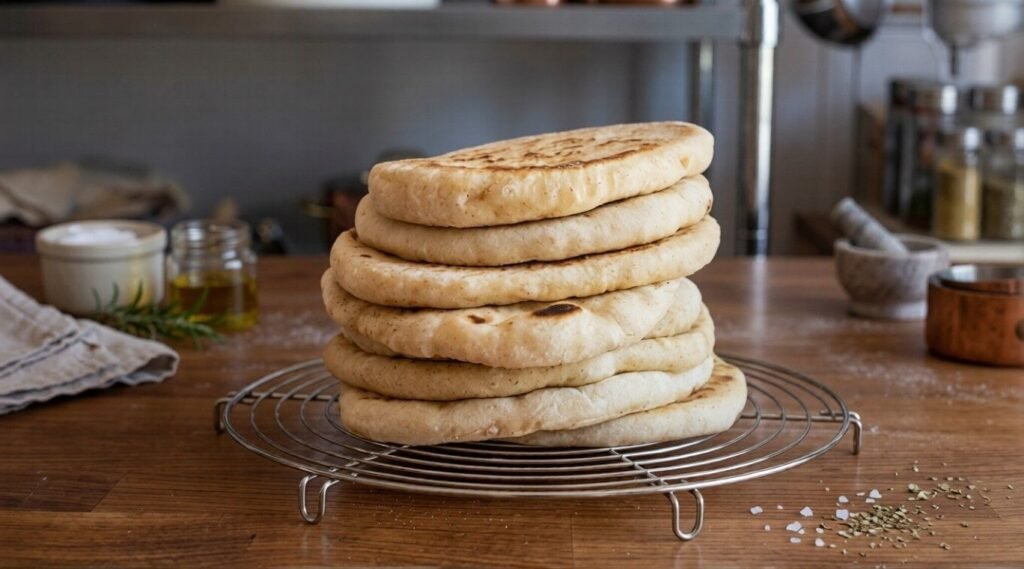
After cooking, place bread on a cooling rack. It prevents moisture and keeps the texture right. I prefer a glass bowl for mixing and rising dough. It helps me see progress clearly as it grows.
Serving Suggestions
After shaping and cooking this soft, flat bread, I always think about how it fits into real-life meals. In my kitchen, breads like this are more than a side. They reflect the Mediterranean diet, simple and balanced. This popular Turkish bread is a versatile component of any meal and is best enjoyed fresh.
I often start the day with it in easy, comforting ways. For a savory option, I add scrambled eggs or warm potatoes inside a soft wrap. On slower mornings, I go sweet with butter, jam, or honey. This kind of breakfast feels homemade and satisfying without effort.
For lunch, I use it as a base for bold fillings. It pairs well with shawarma, spiced sliced meats, or even simple kebabs. I have also served it with grilled meatballs or slices of meatloaf. Adding roasted vegetables and fresh greens brings balance and texture.
When hosting, I turn it into part of a shared spread. I brush it lightly with garlic and serve it with a meze appetizer board. I include feta or goat cheese, olives, and a mix of tomato and cucumber. This setup always feels welcoming and easy to assemble.
For dipping, it truly shines. Tear pieces and enjoy them with creamy hummus, smoky baba ganoush, or cool cacik. I also like yogurt-based dips like tzatziki for a fresh finish. These dipping options highlight how simple bread can carry deep flavor.
Let’s Talk About The Recipe:
This Turkish flatbread is truly wonderful to prepare at home. It works for everybody, even if you are just starting. The process is very easy, and you will quickly love it. I still remember how simple it felt the first time.
Each step is clear and takes only a few minutes. You mix, shape, and cook without stress or confusion. There is no kneading, which saves both time and effort. That is what makes this method so practical.
When I teach beginners, I always highlight this part. No special skills are necessary, just basic attention. You simply follow the flow and adjust as needed. It becomes natural after one or two tries.
Over time, I learned that keeping things simple works best. Focus on timing, heat, and gentle handling. This way, you can make soft bread every time. And the result always feels worth the effort.
Ingredients of Turkish Bread
When I prepare this bread, I always start with the base mix. You need bread flour, about 4 cups, with some wheat added. A little salt, around 1½, balances the taste well. These basics give the dough a strong and soft structure.
For liquids, I like a mix of whole milk and water. You can use ¾ cup of milk and 1 cup of water. This keeps the dough smooth and easy to handle. It also improves texture, based on my experience.
The rising depends on active dry yeast or fresh compressed yeast. Use about 2 tsp or ¼oz, or even ½ oz (14g) if fresh. Both work well if measured right. I have tested both in different batches.
To finish, I always add olive oil, about 2 Tbsp. It brings softness and helps the dough stay moist. Each cup and measure plays an important role. Getting these details right makes the process easier.
Instructions
I usually start by preparing the base to mix the dough properly. If using active dry yeast, I gently warm the milk and water. Keep the heat low, so it feels just right to the finger. It should be near room temperature, not hot, around 110℉ or 43℃.
For fresh yeast, the liquids stay at room level. In a large bowl or stand mixer, I combine bread flour and wheat. Add salt, then sprinkle the granules or crumble yeast on top. This step sets a good base for even mixing.
I often use a fork or my hand to begin. Sometimes I switch to the hook attachment at low speed. At first, the mix looks raggedy, which is normal. Soon, it turns soft and slightly sticky.
The key is making sure everything is fully incorporated. This usually takes about a minute of steady mixing. I always check the texture before moving forward. It should feel smooth and ready for rising.
Storage
After baking, I usually keep bazlama at room temperature. It stays soft for about 2 days if handled well. I like to store it in a breadbox or a paper bag. Sometimes I use a stainless steel pan with a lid.
Before serving again, I always reheat it gently. This helps refresh the texture and bring it back to life. Even simple warming makes a big difference. It feels close to fresh bread again.
For longer storage, I use the freezer. It freezes well for up to 3 months. If frozen on the first day, results are even better. The bread keeps its quality surprisingly well.
When needed, I take it out ahead of time. Let it rest for about 15 to 30 minutes before use. Then, gentle reheating makes it taste beautifully freshly made. This method has worked consistently in my kitchen.
Reheating
When bringing bread back to life, I always focus on gentle heat. A simple method works best in my experience. Keep the surface warm, not too strong or aggressive. This helps maintain the soft texture.
This short process keeps the bread balanced. Too much heat can make it hard or dry. But the right timing restores softness nicely. It feels close to freshly made again.
Making Ahead
When planning, I often prepare extra dough for later. For convenience, you can freeze cooked flat breads easily. You may also refrigerate or freeze uncooked dough balls. This helps you continue making fresh bread anytime.
For uncooked dough balls, I like to wrap them well. After shaping, individually wrap each one in plastic. This step keeps them fresh and ready to use later. It also prevents drying during storage.
If you plan to use them soon, just refrigerate them. They can stay there for a day or two without issues. Before cooking, take them out about an hour early. Let them reach room temperature before rolling.
For longer storage, I prefer to freeze them. They stay good for up to 3 months. You can take them out 2 to 3 hours before use. Or move them to the fridge the night before.
Before cooking, always let them rest again. Bring them fully to room temperature for the best results. This small step improves texture and handling. From experience, it makes the process smoother.
FAQ’s
Q. What is Bazlama Turkish bread?
Ans: Bazlama is a soft, fluffy Turkish flatbread traditionally cooked on a griddle and similar to pita bread.
Q. Do I need an oven to make Bazlama?
Ans: No, Bazlama is cooked on a skillet or griddle, so an oven is not required.
Q. Is kneading required for this recipe?
Ans: No, this recipe does not require kneading, making it very beginner-friendly.
Q. Can I make Bazlama without milk?
Ans: Yes, you can use only water to make it vegan, though milk adds softness and flavor.
Q. Which type of yeast works best?
Ans: Both active dry yeast and fresh yeast work well if properly activated.
Q. How do I know if my yeast is active?
Ans: Dissolve it in lukewarm water with sugar—if it bubbles, it is active.
Q. What tools help make Bazlama?
Ans: A rolling pin, scraper, digital scale, and cast-iron skillet are very useful.
Q. How should I store Bazlama bread?
Ans: Store it at room temperature for up to 2 days or freeze it for up to 3 months.
Q. How do I reheat Bazlama?
Ans: Gently warm it on a skillet to restore its softness and freshness.
Q. What are some ways to serve Bazlama?
Ans: It can be served with eggs, meats, dips like hummus, or sweet toppings like honey and jam.


