


Homemade Chocolate Covered Cherries
The best homemade chocolate-covered cherries feel special at home. This chocolate cherry recipe is super easy with two ingredients. Use brown wax paper after jumping to the recipe moments. Ripe cherries are dipped in chocolate for a wonderfully simple treat.
Keep the spotlight on fruit, not masking sweetness. That avoids a cloying bite and keeps balance. A thin layer or half-dip is ideal. A thick coating tastes delicious, but I cannot stop eating. So less chocolate helps me not overdo dessert.
What You’ll Need
You need cherries, dark chocolate, and basic kitchen tools. A few extras are helpful, though you can improvise. Most items are already in the kitchen. I check a close-up view before starting. That helps me inspect each green stem carefully.
Cherries
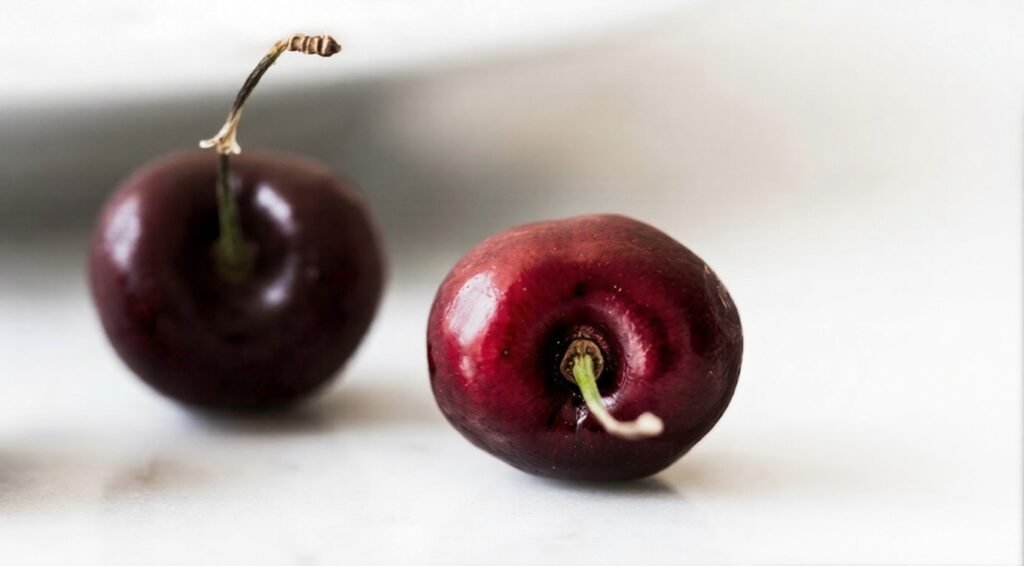
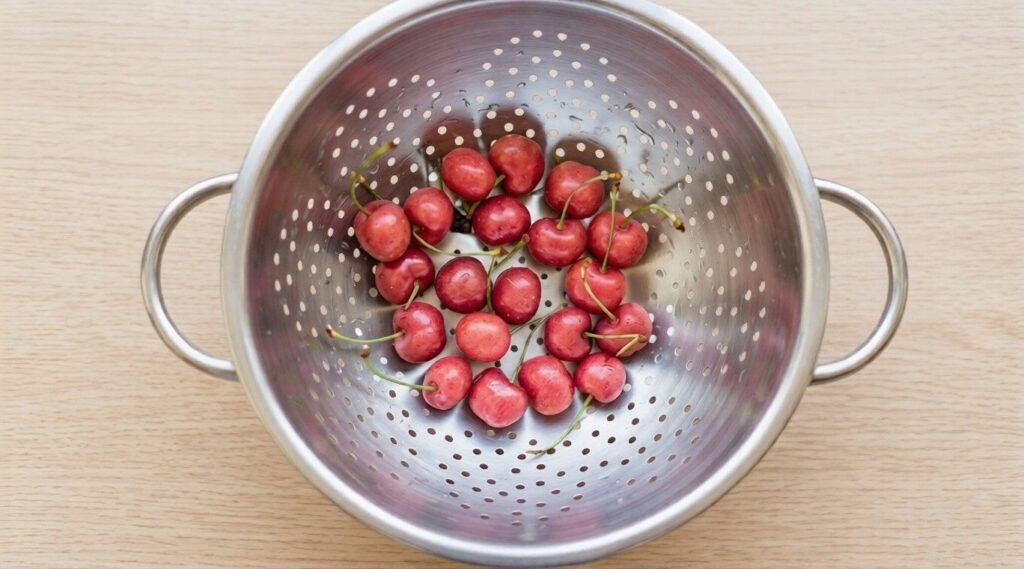
Choose the freshest fruit at the market. Look for firm, plump, shiny cherries. Pick fruit with green stems still attached. Dry-wash cherries well in a colander. During cherry season, learn how to store them.
Also, learn how to eat cherries properly. I enjoy their Anatolian origins and Mediterranean history. Those details make the fruit feel richer. Good ingredients always improve simple desserts.
Pitting the Cherries
A cherry pitter or cherry olive pitter saves time. It handles a bunch of dark red cherries easily. Leave green stems on for an easy grip. Without one, try a chopstick or bottle approach. Always do a safety check and double-check.
That quick extra step helps visually confirm safety. At a country picnic in cherry season, I learned. It happened in Tuscany among worried families. Some Italian mothers feared youngest kids were swallowing pits.
They were curious because the cherries looked whole. Each one seemed pitted, yet untouched outside. The fruit looked whole with stems still on.
The ladies asked where the cherry seeds were removed. I explained I pitted them through the sides. Then they stayed neatly covered after dipping.
One guest bought a pitter the next day. Smart cherry pitting keeps fruit looking whole. That shape matters when you cover them with chocolate. It also makes serving cleaner and prettier. Good technique improves texture and appearance.
Chocolate
Use good dark semisweet chocolate for the best flavor. Around 60-75% cacao is ideal. Those levels balance bitterness and sweetness. My good choices include Valrohna, Callebaut, and Guittard. I also like chocolate wafers when rushed.
Helpful Tools for Melting Chocolate
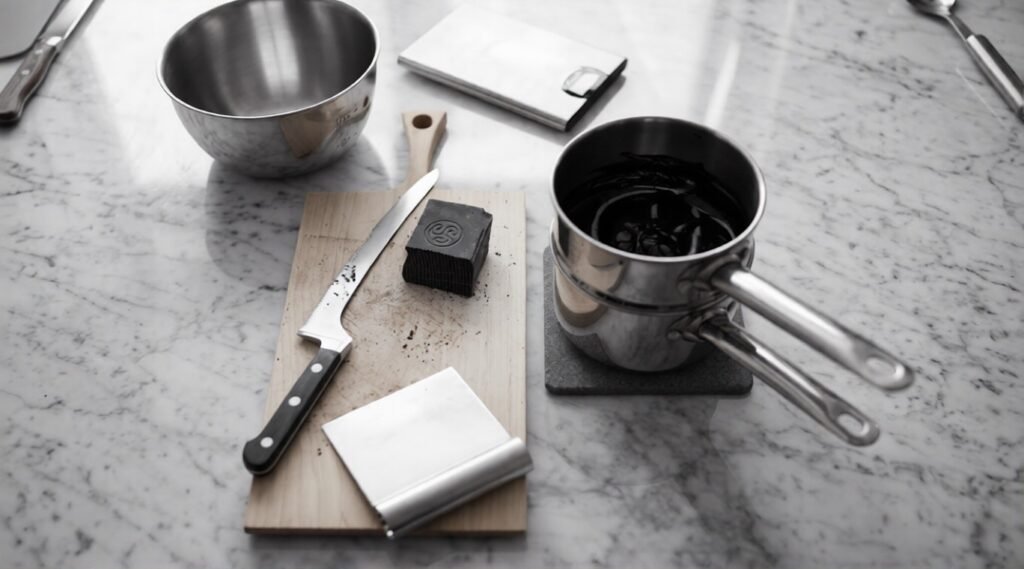
Set out a kitchen scale and a stainless steel bowl. Use a double boiler beside your counter. Add a block of dark chocolate, too. Keep a cutting board and serrated bread knife nearby. A dough scraper makes cleanup faster. My offset bread knife cuts neatly.
A digital food scale helps with weighing chocolate. It also helps with a dozen other things. Precision matters in pastry work. A scraper is handy when you scoop up pieces. It moves chopped chocolate without waste. I sometimes use a flexible scraper.
Still, my favorite tool is sturdier. A stainless steel bench knife served me for over a decade. It stays lightweight and durable. Tools can be stacked up in a little room. That matters in a small cabinet. Compact gear keeps the work smooth.
A bain-marie works, or try a makeshift setup. An ad hoc bowl can still work. Just respect the handle and heat. Watch the hot steam when you hold the top bowl. I keep tongs nearby for safety. Careful movement prevents spills.
Chocolate melts faster when finely shredded. That turns chopping into a breeze. Thin chocolate shavings are ideal for melting. This setup feels perfect for the recipe. It keeps steps simple and clean. That matters during busy prep.
Gourmand Tips
My best trick is keeping it light. I dip each cherry only halfway in chocolate. It need not be completely covered. The result still tastes delicious at serving time.
I often mix it up visually. Offer half a plate two ways. Add cherries au naturel without chocolate beside them. That contrast keeps desserts fresh and elegant. It becomes a perfect dessert plate.
How to Make Chocolate Covered Cherries
Start when you are in the right mood. Fresh just-dipped cherries come together pretty quickly. The method stays easy and fun.
This is the best version for me. It is truly homemade chocolate-covered cherries. The chocolate cherry recipe stays super easy. Again, it uses just two ingredients. That simplicity makes repetition easy. Simple methods often taste best.
Ingredients
Use 2 oz of dark chocolate that is semisweet. Choose 60-75% cacao for an ideal balance. Those remain my good choices. Brands include Valrohna, Callebaut, and Guittard. Use bars, broken into pieces, wafers, or block form.
Check notes for the cutting tip. Prepare 10 cherries with stems attached. Make sure they are cleaned and dried. Ignore the cook mode and prevent screen from sleeping distractions.
Instructions
First, melt the chocolate as your notes suggest. Then pit a cherry through its side carefully. Keep leaving the stems on for dipping.
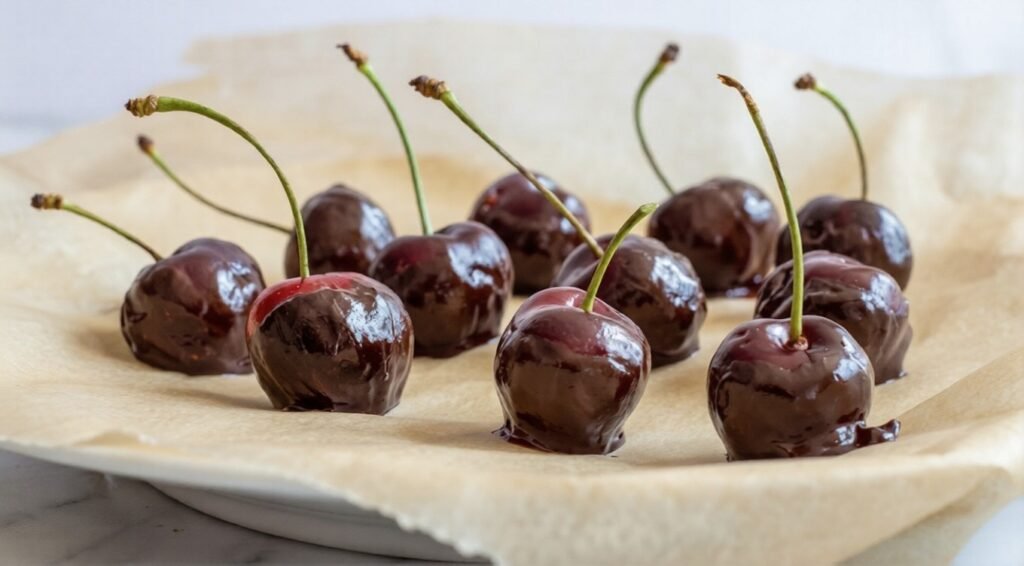
Next, immediately dip by the stem. Coat it halfway with melted chocolate. Then place it down gently. Use a Silpat or a parchment paper-lined plate. A baking sheet also works well. Then repeat with the remaining cherries.
After that, refrigerate them briefly. Keep them covered with a bowl. Wait about 20 minutes or until set. Then serve them on a plate. Pair them together with plain cherries. That balance tastes brighter.
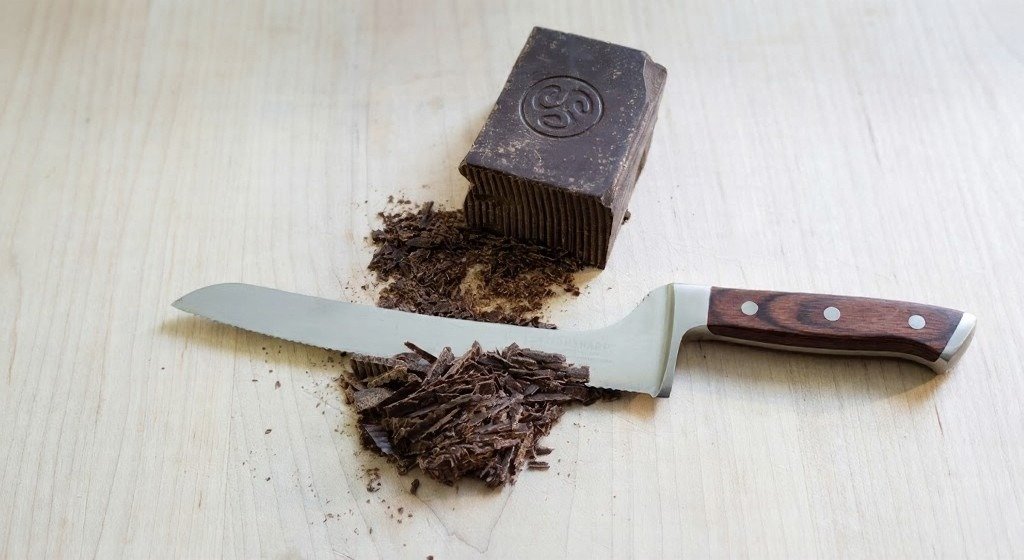
One more tip helps before cutting block chocolate. For melting, use a long knife. Choose one preferably serrated. Then, shave the block carefully. Keep pressing down with both hands. That gives even pieces fast.
Melting chocolate
Always avoid direct heat with chocolate. The best method uses a water bath. A bain marie or double boiler works.
You can easily make your own setup. Use a bowl over a smaller saucepan. Just watch the steam carefully. Fill the bottom pan a quarter of the way. Add water, then heat it gently. It should be almost hot, not simmering.
Then add the chocolate to the top bowl. Set it over the saucepan. The hot water below warms gently. The bowl should not touch the water. Stir occasionally while it melts. Then take the bowl off the heat.
Remove it as soon as melted. Please do not overheat the chocolate. Heat control protects texture. Also, don’t allow even a drop of water. Trouble starts when it starts to melt. Then the chocolate seizes up fast.
It can form a solid mass or clumps. For fixing, rescue seized chocolate carefully. Try stirring in the liquid slowly. Add a teaspoon of boiling water at a time. This sometimes smooths the mixture again. I use that fix sparingly.
FAQ’s
Q. What ingredients do I need to make homemade chocolate-covered cherries?
Ans: You only need fresh cherries and dark semisweet chocolate. Use chocolate with about 60–75% cacao for the best balance.
Q. Why should I leave the cherry stems on?
Ans: The stems make dipping the cherries much easier and cleaner. They also help the cherries keep a pretty, whole appearance.
Q. What kind of cherries work best for this recipe?
Ans: Choose firm, plump, shiny cherries with fresh green stems attached. The freshest fruit gives the best texture and flavor.
Q. Do I need to pit the cherries before dipping them?
Ans: Yes, pitting makes them safer and easier to eat. You can remove the pits through the side to keep them looking whole.
Q. What type of chocolate should I use?
Ans: Good-quality dark semisweet chocolate works best in this recipe. Bars, wafers, or block chocolate can all be used.
Q. How do I melt the chocolate properly?
Ans: Melt it gently over a double boiler or bain-marie. Do not let the bowl touch the water or the chocolate overheat.
Q. Why is it important to keep water away from the chocolate?
Ans: Even a small drop of water can make melted chocolate seize. That can turn it thick, clumpy, and hard to use.
Q. Should I fully coat the cherries in chocolate?
Ans: Half-dipping is a great option for a lighter, balanced treat. It keeps the fruit flavor bright and the dessert less heavy.
Q. How long do chocolate-covered cherries need to chill?
Ans: Refrigerate them for about 20 minutes or until the chocolate sets. Keep them covered while they chill for the best result.
Q. How should I serve homemade chocolate-covered cherries?
Ans: Serve them on a plate once the chocolate is fully set. They pair beautifully with plain fresh cherries for contrast.


